This article is in English, you can read a Mandarin(中文) translation here.
This series is split into 4 parts:
Part 1 — An introduction to AZTEC (here)
Part 2 — Deploying AZTEC on Ganache (here)
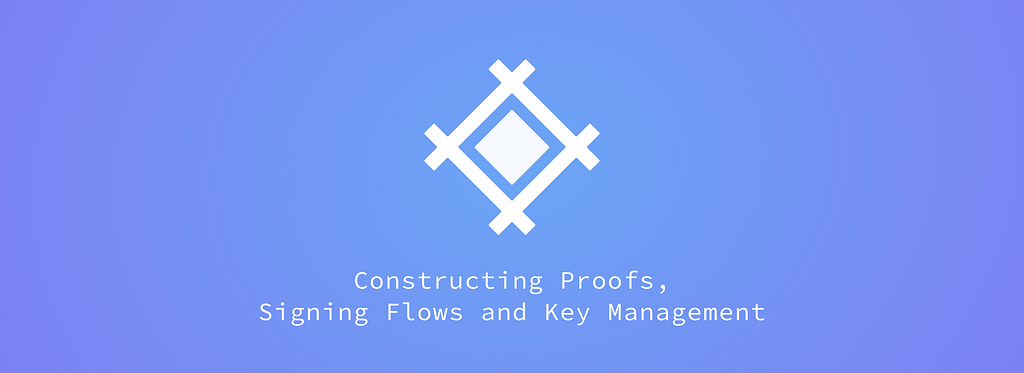
Part 3 — Constructing Proofs, Signing Flows and Key Management.
Part 4 — Creating, Settling, & Streaming Confidential Assets (here)
In order to interact with AZTEC, it is important to understand how proofs are constructed, the best practice for managing viewing keys, and how signing flows should be handled on the client or server.
aztec.js is a JavaScript proof construction library published to NPM. It is designed to make it easy for developers to interact with AZTEC. It constructs proofs in ~10ms and runs client side even on mobile devices. It is essential for constructing the proofs required to pass the validators for each of the AZTEC Toolkit proofs.
Creating a Note
Creating a note requires the public key of the user who can decrypt the note, the Ethereum address of the owner, and the corresponding point from the trusted setup database to prove the value is in the supported range. aztec.js makes this easy and will automatically fetch the correct point from the hosted trusted setup database. NOTE: The current trusted setup database was performed internally and should not be used in production. The ignition ceremony will be performed before Q3 for production use.
const note = await aztec.note.create(publicKey, value, owner);
// the owner and the public key do not have to match
// this is useful for creating notes owned by smart contracts
All AZTEC proofs interact with notes. The notes a proof interacts with can either be existing notes that exist inside a ZkAsset’s note registry, new notes that will be created in that note registry should the proof be validated and the transfer instructions processed, or utility notes that are used to prove a relationship between other notes. In order to construct a proof, the prover needs to possess the viewing keys for all of the notes used in the proof construction. Managing access to these viewing keys requires some thought as unauthorised party can decrypt note values with a viewing key.
Viewing Key Management
Every AZTEC note has a corresponding ephemeral key that allows a viewing key to be derived. This viewing key can be used to decrypt the note’s value. This key is created using a secret sharing protocol that allows note construction and transfer to be non-interactive. A user can construct a note using the public key of the notes intended recipient. The owner of this public key can derive the notes viewing key using their private key usingaztec.js. However as the size of the trusted setup increases from a maximum value of 1,000,000 to 1,000,000,000, deriving viewing keys will become unfeasible on client-side applications.
For server side applications, deriving viewing keys requires secure access to private keys or integrating with a centralised key management solution for storage of viewing keys. The recommended approach for client side applications is to securely share ephemeral keys by encrypting the key with the intended recipients public key using IES encryption, or use a centralised key management system. As MetaMask does not currently support IES encryption, it is recommended to use a burner wallet that enables access to private keys for development purposes.
When MetaMask integrates EIP 1775 these flows will improve significantly and signing flows using MetaMask will be possible.
Constructing Proofs
const { proofData, expectedOutput, signatures } = aztec.proof.joinSplit.encodeJoinSplitTransaction({
      inputNotes: [note1],
      outputNotes: [note2, note3],
      senderAddress: accounts[0],
      inputNoteOwners: [user1],
      publicOwner: accounts[0],
      kPublic: 0,
      validatorAddress: zkAsset.address,
 });
Spending Notes
In order for a note to be spent, they must first be approved for spending by a particular address. The standard Join Split proof will automatically sign the notes used in the proof with the private keys passed in the array of inputOwners. More involved signing flows need to pass a signature to the confidentialApprove() method of the ZkAsset.
In order to approve a note for spending by another address e.g a smart contract. The note owner must use the following flow:
const signature = aztec.signer.signNote(assetAddress, noteHash, spenderAddress, owner.privateKey);
They must then call the confidentialApprove() method before any transfer instructions are processed using confidentialTransfer()
ZkAsset.confidentialApprove(noteHash, spender, true, signature);
// note if the owner is a smart contract, and the msg.sender for the above call is the owner address a signature can be omitted.
Validating Proofs with AZTEC
In order to process a transaction inside AZTEC that results in a state update to one or more ZkAssets, the following flow is required:

Step 1: Proof Construction
The proof is constructed using aztec.js as shown above.
Step 2: Proof Validation
The proof is sent for validation to ACE. If successful, ACE will return a set of transfer instructions to the user, and store a hash of the validated proof inside ACE that other dApps / contracts can re-use to save on gas costs.
Step 3: dApp Permissioning and Approving Notes for Spending
Once the dApp has received a set of transfer instructions from ACE it must first ensure the required permission logic has been fulfilled to allow the notes used in the proof to be spent. Once this has been verified, the notes consumed need to be approved for spending inside ACE by creating a signature of the note and calling the confidentialApprove() method of the ZkAsset.
Step 4: Updating a Note Registry
Proofs that represent a transfer of value (the Join Split, BilateralSwap, Mint & Burn Proofs) can be used to update the note registry of a ZkAsset. The proof outputs returned by the proof validation can be used to process the state update. To process the update, the dApp must call confidentialTransferFrom() on all of the affected ZkAssets with the proof outputs returned from ACE in step 2.
That’s it for Part 3, you can read Part 4— Creating & Settling A Confidential Loan here.
Thanks for reading!